For your viewing pleasure:
- No frames
- No "best viewed with xyz"
- No invalid content
Making of the chipset watercooling
Introduction
You probably know what a chipset is on a motherboard, it does not produce much heat, but motherboard manufacturers have attached a heatsink with a small fan to it. The smaller the fans are, the more rpm they spin at, and ... the more noice they make!
Althrough I had already replaced the original fan with a better one, it was still making a lot of noise so I wanted to build a water block for the chipset. It also helps to lower the inside case temperature.
Pictures!
Click on pictures to enlarge

Copper is a pain to cut, even with a new blade. I had to take some breaks to let my arms rest :)
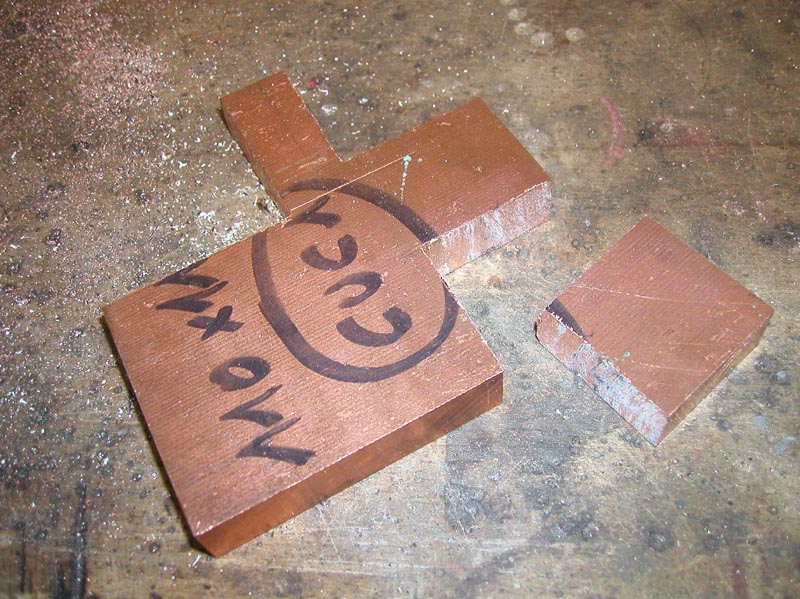
Allright now let's polish it's faces and drill it!
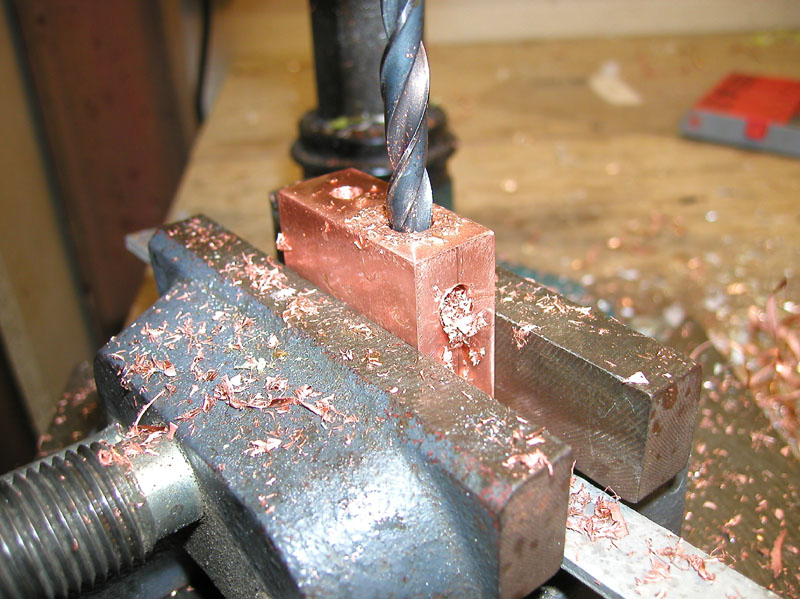
Drilling was not as easy as I thought. A lot of power is wasted in rubbling, which generates heat, even with the help of oil. I had to soak the copper block into water to cool it after each hole
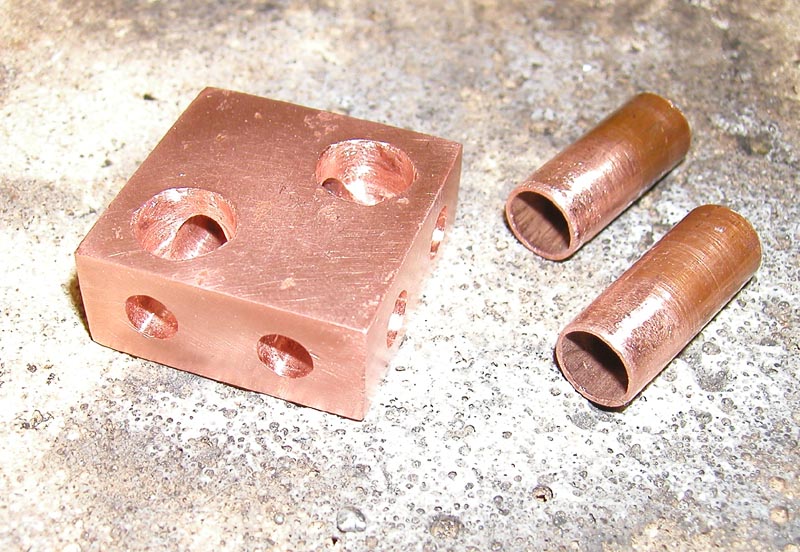
Parts have to be cleaned before attempting to solder then. The most important is to adjust the holes diameter to the pipes so that they match exactly.
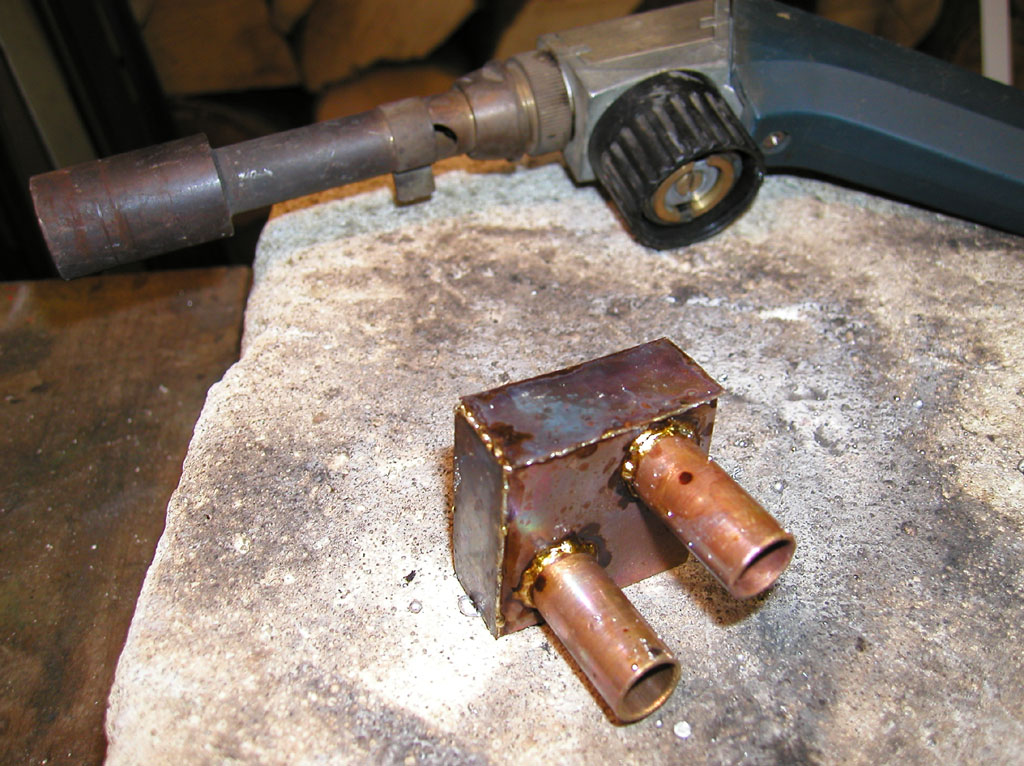
THIS IS HOT!!
The main difficulty here is to avoid leakage - and to avoid burning your hands! The first attempt was a failure because there was water leaking from everywhere! I had to heat it again a couple of times to fix it.
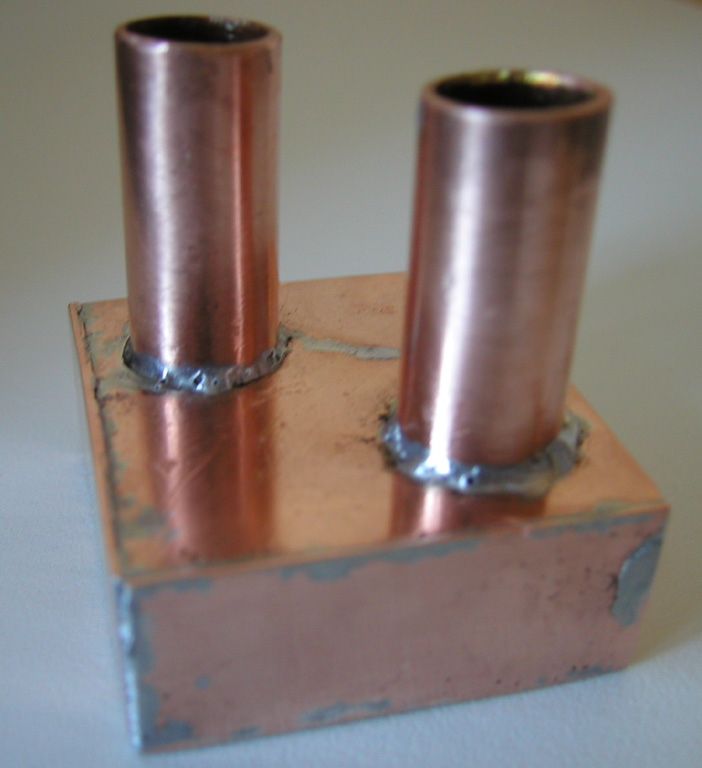
Job's done! Well almost, it will take a lot of time to polish it. And I still have to build some kind of clip to attach it to the motherboard.
back to projects